
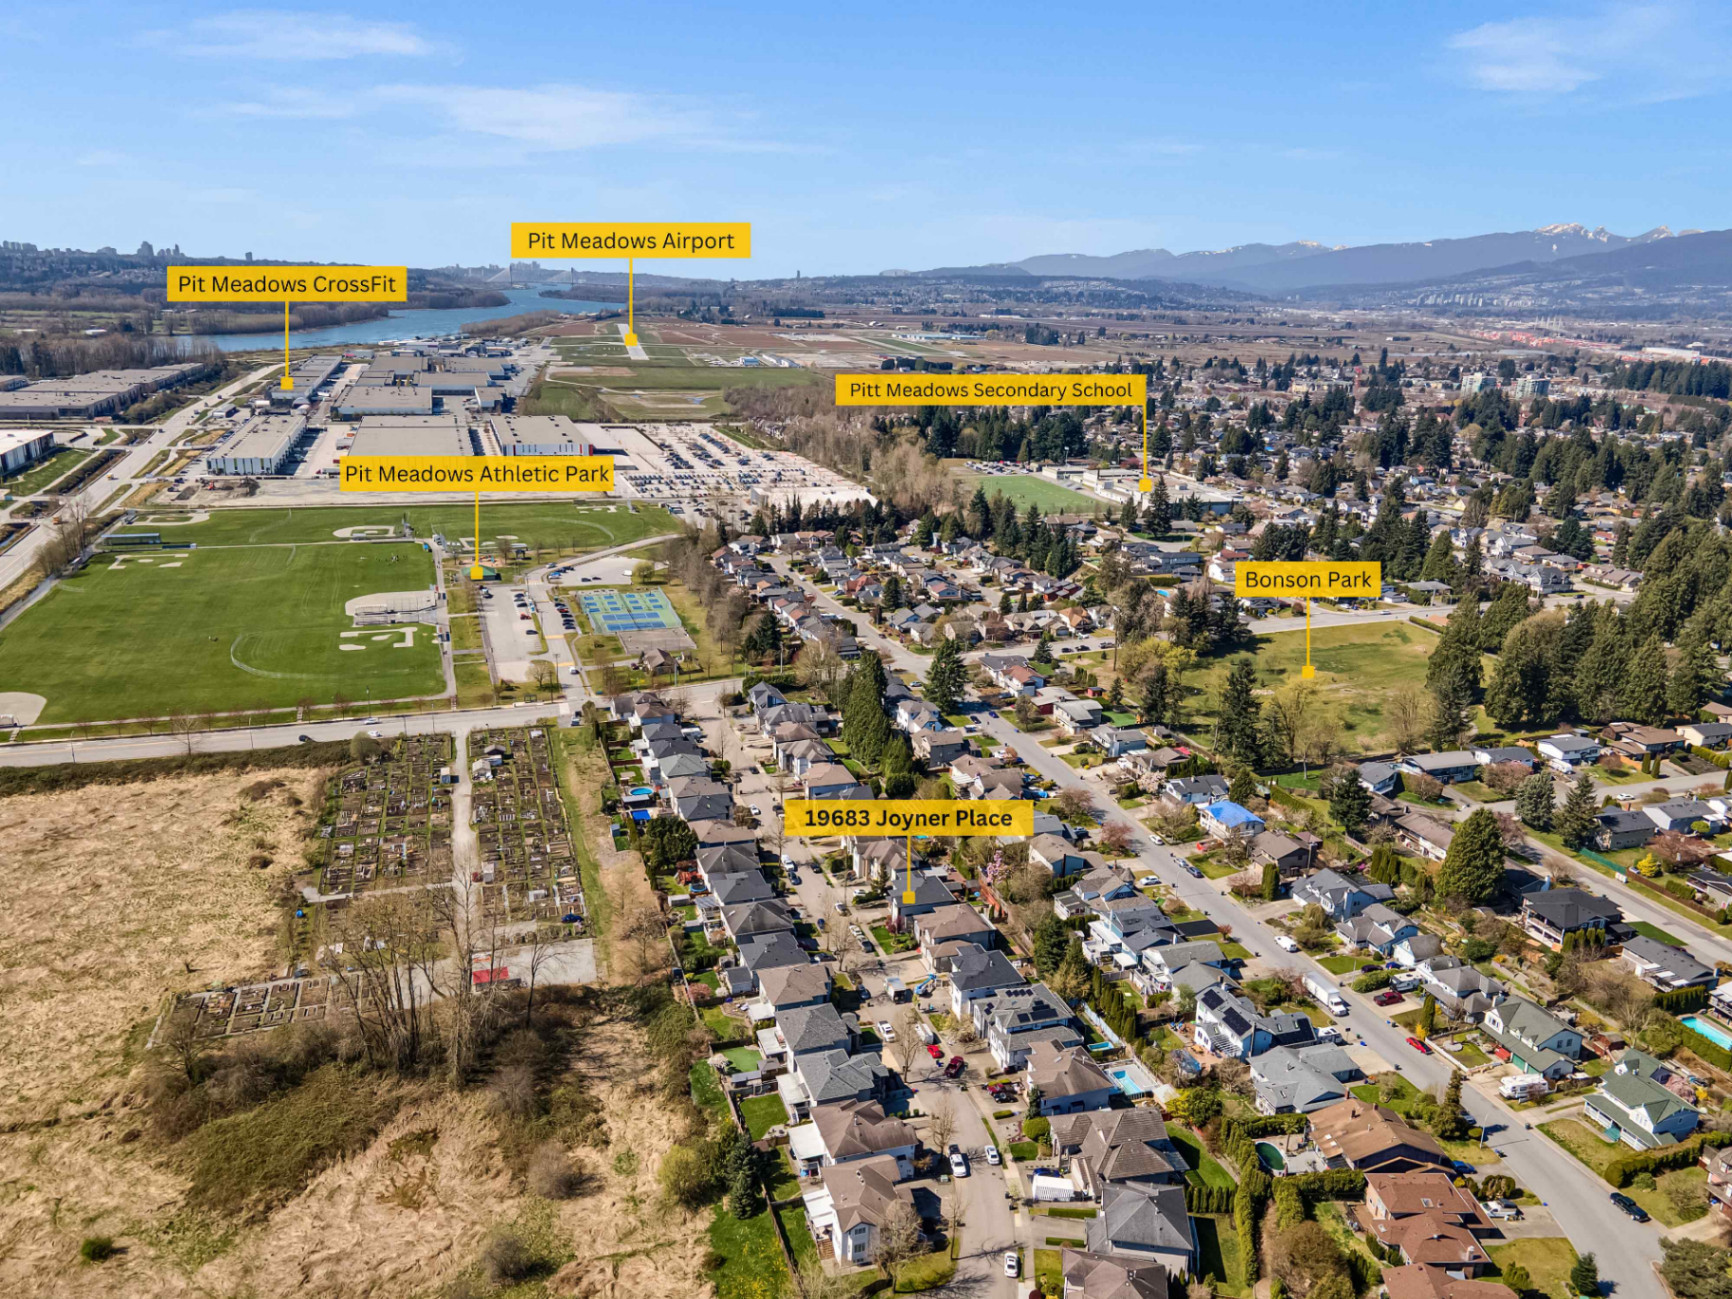
Photography
Real Estate Photo Shoot Process: Shoot Day Walkthrough
September 21, 2026 · 6 min read
Photography
For sellers and homeowners preparing their home: your agent coordinates the media package and access. Focus on cleaning, decluttering and making each agreed space available. Realtors can read the shoot-day coordination walkthrough.
A standard real estate photo shoot process in Surrey and the Lower Mainland takes between 45 minutes and two hours, depending on property size, architectural layout, and requested media services. During the appointment, the media specialist conducts an initial walkthrough, adjusts interior lighting, photographs every key living space from intentional angles, captures exterior elevations, and executes any add-on services such as aerial drone imagery or floor plan measurements. Knowing what happens at each stage helps real estate agents set clear client expectations and keep listing schedules running on time.
The efficiency and outcome of a listing photography appointment depend heavily on the preparation completed before the photographer arrives. Photographers work on a structured appointment schedule, especially when navigating traffic across Surrey, Langley, Delta, and Burnaby. Because of this tight scheduling, shoot time is dedicated to composition, lighting balance, and visual capture rather than cleaning, decluttering, or moving heavy furniture.
Realtors should provide sellers with a clear checklist ahead of time. You can share our comprehensive home prep guide to assist homeowners with depersonalising living areas, clearing kitchen counters, concealing visible cords, and removing vehicles from driveways. When a home is ready upon arrival, the photographer can immediately focus on the visual strengths of the property rather than addressing avoidable distractions.
If the listing is currently occupied by tenants, agents must ensure all notice requirements are properly handled in advance. Under British Columbia residential tenancy rules, landlords and listing representatives must provide appropriate written notice prior to entering the premises for marketing purposes. For current regulatory details on scheduling property access, consult the BC Residential Tenancy guidelines and verify compliance procedures with your managing brokerage.
Understanding the operational sequence of a shoot helps Realtors coordinate lockbox access, manage client communication, and plan their listing launch timeline. Below is the typical workflow followed during a professional photo shoot day.
Upon photographer arrival at the property, the first step is an exterior and interior walkthrough. The media specialist evaluates natural window light, checks room flow, identifies focal points, and notes any unique architectural features that require specific angles. During these opening minutes, the photographer also performs rapid environmental adjustments:
Once lighting is set, interior capture begins. Photographers typically work through the home systematically, starting with the primary living zones—the foyer, living room, dining room, and kitchen—before moving to secondary spaces, the primary suite, additional bedrooms, and bathrooms. High-end real estate photography relies on multiple exposures (bracketing) per viewpoint to balance bright window light with interior shadow detail, ensuring exterior views remain crisp while room interiors appear balanced and true to colour.
Camera heights and focal lengths are adjusted depending on the room. Wide-angle architectural lenses are used to provide accurate spatial context without distorting wall lines or exaggerating room proportions, adhering to the professional standards required across Canadian real estate boards.
After completing the interior, the photographer moves outside to capture the front facade, backyard, patio or deck spaces, detached structures, and landscaping features. In areas like South Surrey, White Rock, and Abbotsford, exterior property depth and outdoor entertainment areas are key selling points that require careful framing to capture sightlines without including neighbouring parked cars or service bins.
When an agent selects full-service marketing packages—such as cinematic video walkthroughs, digital floor plans, or aerial imagery—the appointment extends past standard still capture. Add-on services follow a distinct sequence:
A common question for listing agents is whether they, or the homeowners, need to remain present during the entire appointment. While an agent's presence is welcomed—especially if there are custom renovations or hidden property assets to highlight—it is not mandatory. Many shoots across Vancouver, Richmond, Coquitlam, and Delta operate smoothly using lockbox codes or direct key handoffs.
If homeowners are present during the shoot, it is best for them to relax in an area outside the camera's path, such as the patio, garage, or a room that has already been completed. Pets should always be safely crated, taken for a walk, or kept off-site during the appointment. This prevents pets from wandering into bracketed exposures, tripping sensitive tripod setups, or leaving doors open when exterior shots are captured.
To assist in scheduling showings, open houses, or homeowner departures, review these typical appointment timeframes based on property size and service requirements:
You can view full details on our standard packages and service tiers on our professional listing photography services page and our transparent pricing page.
Once the on-site work is completed, the photographer secures the property, turns off lights (or returns them to the owner's preferred state), locks entry doors, and resets the keybox. The real estate photo shoot process then shifts to post-production.
Raw camera files undergo multi-step processing, including exposure blending, vertical line correction, colour balancing, window detail recovery, and sky enhancement for grey or overcast Pacific Northwest days. Once editing is complete, images are uploaded to a private delivery portal where agents can download full-resolution print files for marketing brochures as well as MLS-optimized web files ready for immediate upload.
Realtors must ensure all final media representations accurately reflect the property and comply with advertising guidelines issued by the BC Financial Services Authority (BCFSA). Confirm specific board MLS photo rules and submission standards directly with your local real estate board.
A well-organized listing photography appointment ensures your property is presented with visual clarity and professional polish. Ready Set Sold Media provides dependable media coverage across Surrey, White Rock, Langley, Delta, Burnaby, Vancouver, Richmond, Coquitlam, Abbotsford, and Chilliwack.
Ready to schedule media for your upcoming listing? Visit our online booking page to secure your date and time, or reach out directly through our contact page if you have custom property requirements.
Explore our photography service and local media coverage, or request an itemized quote.
A standard photo shoot for a condominium or townhome typically takes 45 to 60 minutes. Detached homes generally require 60 to 90 minutes. If you add cinematic video, laser floor plans, or aerial drone coverage, plan for 90 minutes to two and a half hours on-site.
Realtor attendance is optional. Many agents provide a lockbox code or arrange for seller access. If you have specific architectural details or community amenities you want highlighted, attending or providing advance shoot notes ensures the photographer captures every priority angle.
Overcast days are common in the Lower Mainland and provide soft, even interior light without harsh sun shadows. Exterior photos typically include sky replacement during post-production to ensure bright, clean listing images. For heavy rain, exterior or drone portions can be rescheduled if needed.
Listing photos delivered within 12 hours of the completed shoot. Delivery timing confirmed when you book.
Rated 5.0 stars from 10 Google reviews — read our Google reviews.
Ready to Apply This?
Real estate photography, video, drone, floor plans and 3D tours across the Lower Mainland — listing photos delivered within 12 hours of the completed shoot; other delivery confirmed when you book.
Keep Reading
Photography
September 21, 2026 · 6 min read
Photography
October 28, 2026 · 5 min read
Virtual Staging
October 25, 2026 · 5 min read