
Photography
How Much Does Real Estate Photography Cost in Surrey & Vancouver? 2026 Guide
August 13, 2026 · 8 min read
Photography
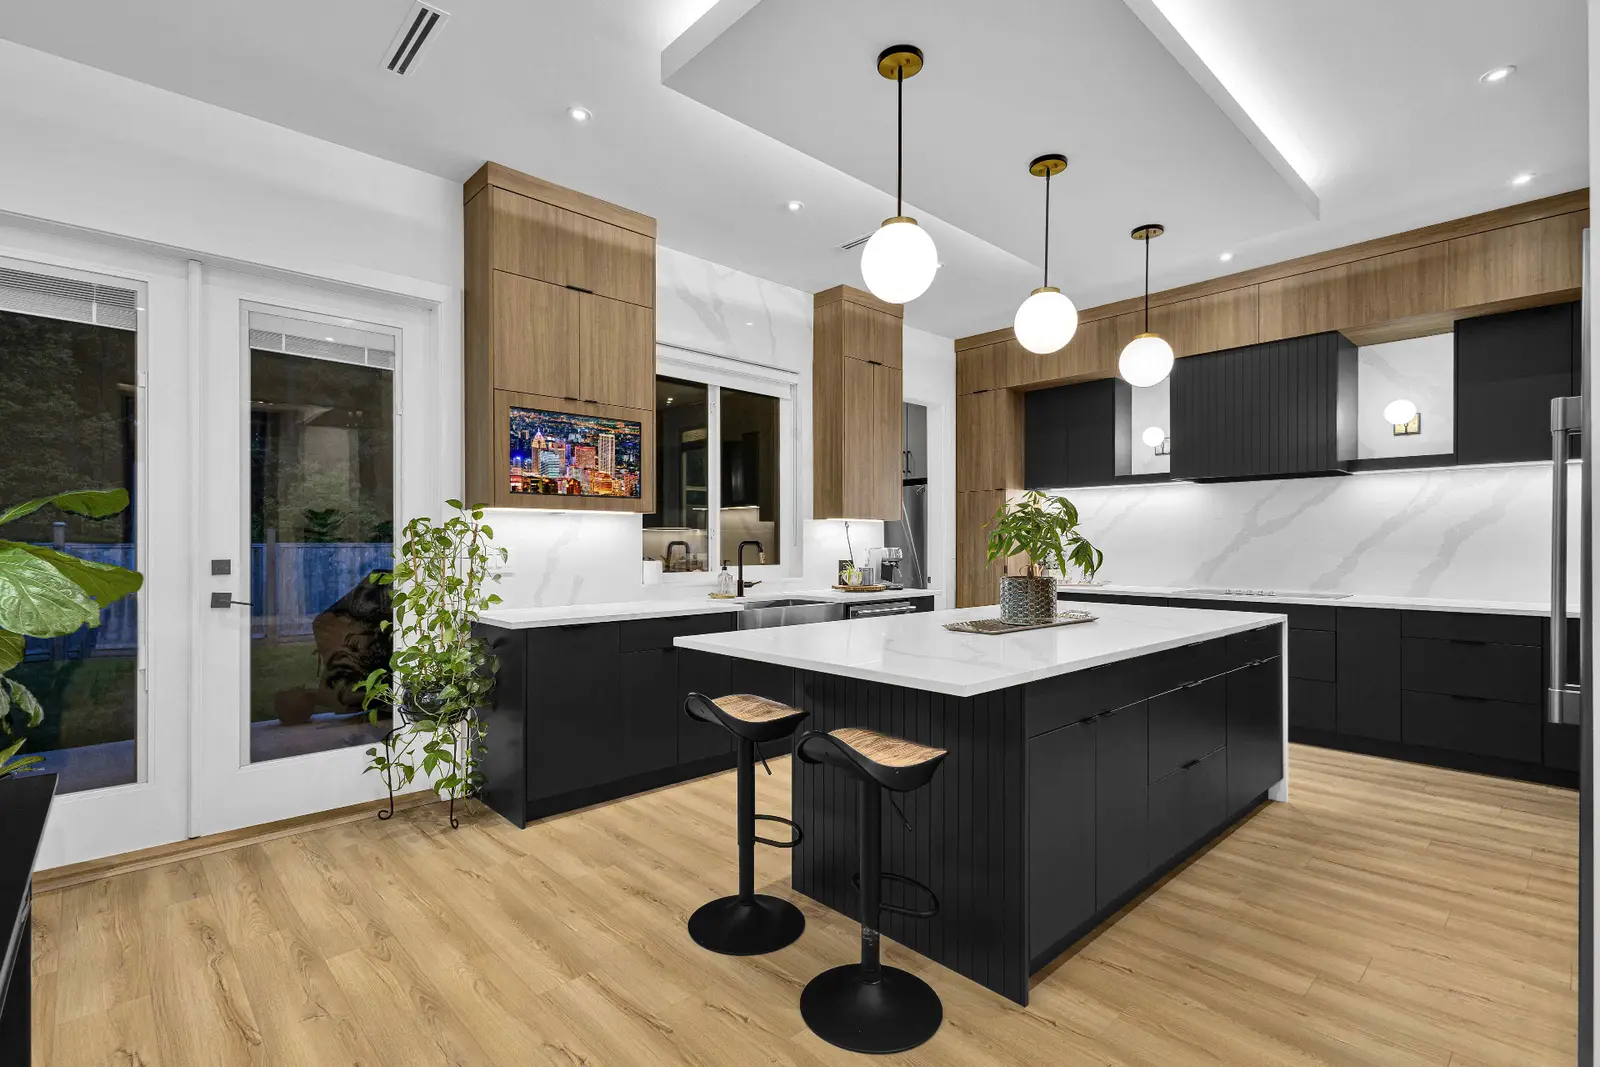
A 520-square-foot condo in Vancouver, Burnaby or Surrey is one of the hardest properties to photograph well. Push too hard and the images oversell the space, buyers walk in disappointed, and you have an advertising problem as well as a showing problem. Play it too safe and the unit looks cramped in a market where the buyer is scrolling past on a phone. This guide is about the middle path: making a small unit look genuinely good while staying accurate.
Wide-angle lenses are necessary in small rooms — you cannot back up through a wall. The problem is that the widest end of an ultrawide stretches whatever sits near the frame edges. A sofa balloons, a kitchen looks twice its depth, and the room's proportions stop matching reality.
Practical guidance we work to:
The goal is a photo where a buyer standing in the room afterwards recognizes it immediately.
Small condos are often window-dominated, and that is usually a selling point. Two things go wrong: the window blows out to pure white, or the interior goes muddy to save the view.
Balanced exposure — whether achieved with flash, blending, or a combination — should produce an interior that looks like the room and a window that shows what is actually outside. If there is a mountain, water, park or skyline view, it deserves its own dedicated frame from the balcony or window as well as being visible in the room shots.
On balconies, shoot the usable space honestly. A narrow juliet balcony photographed to imply a patio sets up a bad showing. Include a wide frame that shows the balcony's real proportions relative to the door.
Removing clutter is normal preparation. Removing or concealing something a buyer needs to know about is a different matter.
Reasonable: clearing counters, removing personal items and small appliances, tidying cords, taking down the drying rack, removing the litter box, simplifying a bookshelf, adding a plant or a folded throw.
Not reasonable: framing to hide a bulkhead, a structural column, an electrical panel, a low ceiling section, a poor outlook from the main window, or a fixed feature that materially affects how the unit lives. Selective omission can shade into misrepresentation depending on the facts, and BC real estate professionals should be reading BCFSA's Advertising Guidelines with that in mind.
A simple internal test: if a buyer would reasonably feel surprised at the showing, the gallery is not doing its job. Our pre-shoot preparation checklist covers the tidy-up side in more depth.
Shoot the space as a whole from at least two positions so a buyer can assemble the layout mentally. In open plans the relationship between kitchen, dining and living matters more than any single hero frame.
Small bedrooms benefit from a corner composition that includes the window and, where possible, part of the closet. Do not shoot from inside the closet to widen the room — it reads as a trick.
Photograph a den as what it is. If it has no window or no door, the photo should make that legible rather than implying a bedroom. A desk setup communicates function honestly.
Mirrors are the challenge. Compose so the photographer and lighting are not reflected, and show the actual size of the vanity and shower or tub rather than a tight detail crop only.
In-suite storage is a real selling feature in a small unit — show it. Photograph a locker or parking stall only when it belongs to the unit, is identifiable, and building management or the strata permits access and photography. Confirm before shoot day.
An exterior shot gives the listing context. Amenities — gym, lounge, rooftop, pool — often require permission from the strata or building manager, and some buildings restrict photography in common areas entirely. Ask first, and shoot only what the unit's owner actually has access to.
Order matters as much as image quality, because most buyers form an impression in the first few frames on a phone. A sequence that reliably reads well:
This is a sequencing guide, not a photo count. How many images you upload and what file specs they need are separate questions — our MLS photo size and format guide covers the technical delivery side, and current caps and requirements vary by board, MLS system and brokerage.
Small units benefit disproportionately from a layout aid, because photos of compact rooms are the hardest for buyers to assemble into a plan.
The tradeoffs are honest ones: a tour adds shoot time and cost, so some agents choose a floor plan plus photos for straightforward layouts. Neither product guarantees a marketing outcome — they reduce the number of unanswered questions a buyer has before booking a showing.
Vacant compact units often benefit from virtual staging, because empty small rooms are genuinely hard for buyers to scale. Two rules keep it safe:
Where AI tools are used in editing or staging, BCFSA's Artificial Intelligence Guideline is the relevant BC reference, alongside the Advertising Guidelines. Brokerage policy and board rules may add requirements, so confirm what disclosure wording your brokerage expects.
Studio and one-bedroom stock behaves differently across the region — older concrete buildings in downtown Vancouver, newer towers in Burnaby and Surrey City Centre, low-rise wood-frame in Langley and Delta, and view units in White Rock. Building access rules, amenity policies and shoot-day logistics vary just as much as the units do. We cover the full Lower Mainland service area and plan each condo shoot around the specific building.
Ready Set Sold Media shoots compact condo listings with honest wide-angle work, balanced window exposure, and optional floor plans, interactive tours and labelled virtual staging. See photography services, review pricing, or book online.
General information for BC real estate professionals. Confirm strata, brokerage, board and MLS requirements for your specific listing.
Explore our photography service and local media coverage, or request an itemized quote.
A moderately wide field of view usually represents a compact room accurately, while the extreme end of an ultrawide stretches objects near the frame edges and exaggerates depth. The practical test is whether a buyer standing in the room recognizes it from the photo.
Use straight verticals, corner compositions that show two walls, balanced window exposure, and thorough decluttering. Avoid extreme wide angles, avoid shooting from inside closets, and never frame out a fixed feature such as a bulkhead or column that materially affects how the unit lives.
Only with permission. Some strata corporations and building managers restrict photography in common areas, and access to amenities varies by building. Confirm the rules for that specific building before shoot day, and show only amenities the unit's owner actually has access to.
Both help buyers understand flow, which is hardest to convey in photos of compact rooms. A 2D floor plan clarifies room connections and door swings; a 3D or interactive tour suits unusual layouts and out-of-town buyers but adds shoot time and cost. Choose based on the unit and budget.
Virtually staged images should be clearly labelled so buyers do not mistake rendered furniture for included furniture, and staging must not alter fixed features of the property. In BC, review BCFSA's Advertising Guidelines and Artificial Intelligence Guideline, plus your brokerage's own policy.
Lead with the strongest frame — often the main living space or the view — then building context, living area, kitchen, dining or flex space, bedrooms, bathrooms, balcony, permitted amenities, and the floor plan last. Photo counts and file requirements vary by board and MLS system.
Rated 5.0 stars from 10 Google reviews — read our Google reviews.
Ready to Apply This?
Real estate photography, video, drone, floor plans and 3D tours across the Lower Mainland — listing photos delivered within 12 hours of the completed shoot; other delivery confirmed when you book.
Keep Reading
Photography
August 13, 2026 · 8 min read
Virtual Staging
May 28, 2026 · 8 min read
Photography
October 28, 2026 · 5 min read